How to Disable Your Laptop’s Internal Keyboard in Windows
Sometimes, you may want to temporarily disable your laptop’s internal keyboard—perhaps for troubleshooting, cleaning, or using an external keyboard. On Windows, you can do this using a simple command in the Command Prompt.
Step 1: Open Command Prompt as Administrator
-
Press
Win + Sand typecmd. -
Right-click Command Prompt → select Run as administrator.
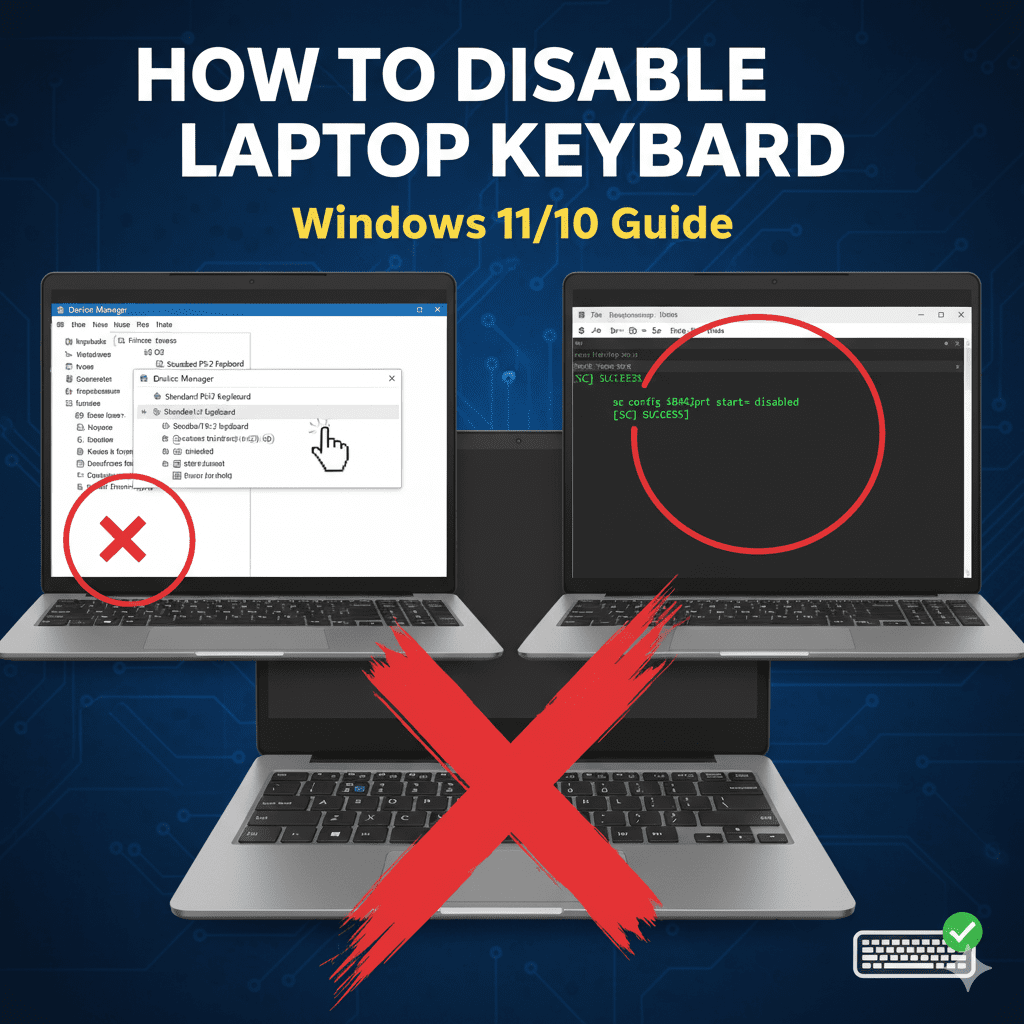
Step 2: Enter the Disable Command
In the Command Prompt window, type the following command and press Enter:
What This Does
-
sc config– Changes service configurations. -
i8042prt– Refers to the driver for the internal keyboard and PS/2 mouse. -
start= disabled– Prevents the service from starting automatically at boot.
After a restart, your laptop’s internal keyboard will be disabled. External USB keyboards will still work.
Step 3: Re-enable the Keyboard (If Needed)
To restore your internal keyboard, use this command:
Then restart your laptop, and the keyboard will function again.
⚠️ Important:
-
Only proceed if you have an external keyboard available, or you may lose input access.
-
This method affects older PS/2 keyboards; modern USB keyboards are unaffected.
💡 Tip: This is a safe way to disable your internal keyboard temporarily without physically removing it. Always keep an external keyboard handy before trying this.
Need Help?
If you face any errors while disabling or re-enabling your laptop keyboard, feel free to contact me for assistance. I can guide you step by step to safely resolve the issue.
Contact: [+919131162822]